Not every photo is a keeper. Indeed, a lot of the pictures you take probably turn out to be duds—perhaps the exposure is way off, the white balance turned everything blue, or you accidentally shot into the sun and your subject is in shadow. Whatever the reason, the good news is that it’s not hard to rescue many of those shots. The next time you have some photos that you’re not happy with, see if any of these tips can help turn a loser into a keeper.
Use the Levels tool to fix exposure
One of the most common problems you’re likely to find in your latest batch of photos is simple under- or overexposure. And while you might be tempted to delete a badly exposed photo (or just keep it as is), almost any photo-editing app has what it takes to dramatically improve the shot. Look for the Levels tool (in some photo editors, you’ll find a similar tool called the histogram adjustment).
You have three main ways to fix the exposure with Levels. The slider on the far right is the highlight control; drag it to the left to make the overall photo lighter. The slider on the far left is the shadow control; dragging it to the right darkens the image. Often, the most useful part of the Levels or histogram control is the midtone slider in the middle; as its name implies, it lets you brighten or darken the middle tones in a photo. By tweaking all three, you can improve almost any photo and salvage many seemingly terrible shots.

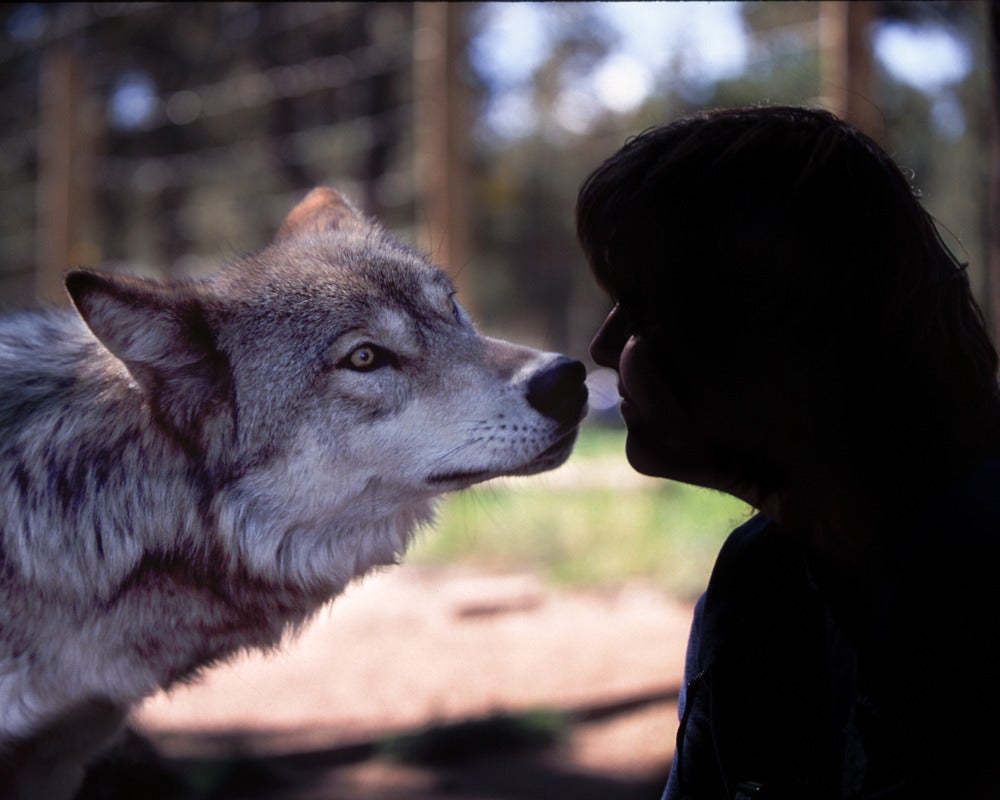
When your camera gives you shadows, make silhouettes
If you shoot facing the sun, your camera has a tendency to try to underexpose the shot, to compensate for the bright sun. If your subject is too underexposed, the Levels tool can’t help. Instead of trying to brighten the scene, enbrace the shadow—darken it instead, turning your subject into a silhouette. But rather than darkening the entire photo, use your photo editor’s selection tool to choose just the primary subject. After it’s selected, choose the Brightness tool and reduce it until the subject is a deep, dark silhouette.
Correct the white balance
It’s easy to confuse your camera’s automatic white balance control when you’re taking a shot. If your photo is noticeably off-kilter—such as too red or too blue—find the white balance slider in your photo editor and drag it around until the color looks about right. It’s fairly easy to do this by eye. Another option: If you have a white balance picker in your photo editor, you can use it to click on a part of the photo that is pure white or neutral gray. It automatically sets the white balance correctly.
Crop away the junk
Sometimes you don’t need to roll your sleeves up and fiddle with exposure adjustments. It’s easier to just throw away the parts of the photo that don’t work. Case in point: Suppose you have a photo that’s terribly composed, with a distracting foreground. Select the Crop tool in your photo editor and tightly crop around the part of the image you like. Or you can use the Clone tool to “paint away” the parts you don’t like by covering them with sections of the background.

Use saturation to finesse imperfections
It’s not unusual for poor exposure to result in a dry, bleached photo that lacks the impact of the actual scene as you saw it through the viewfinder. One easy fix is to grab the photo editor’s Saturation tool and amp up the energy in the photo. Be careful with Saturation, though. Increase it too much, and your photo can start to look candy colored. If you’d rather, you can try to cover up for a photo’s color imperfections by reducing the saturation. You can either lower the saturation to dramatically reduce the colors, or go the whole way and turn the shot into a black-and-white image.
Photos by Dave Johnson. All rights reserved.